
I have heard all about these, but have never made them or even had them until now. Why did I wait? These are great, and sooo easy. You have to try this Buttermilk caramel-y sauce too, super yummy. I made these for the kids this morning, but I think I'll get some fresh berries and make it again this weekend for Mr. too. This pancake is fun to watch baking, it puffs all up (see my photo lol), then it'll sink as it sits to cut. The flavor reminded me of a baked custard dessert, but not too eggy. The kids sure loved it and had seconds, I think I'll have to make two pans of it next time.

German Pancakes
as seen at allrecipes
6 eggs
1 cup milk
1 cup all-purpose flour
1/2 teaspoon salt2 tablespoons butter, melted
Buttermilk Syrup
1 1/2 cups sugar
3/4 cup buttermilk
1/2 cup butter
2 tablespoons corn syrup
1 teaspoon baking soda
2 teaspoons vanilla extract
confectioners' sugar
Place the eggs, milk, flour and salt in a blender; cover and process until smooth. Pour the butter into an ungreased 13-in. x 9-in. x 2-in. baking dish; add the batter. Bake, uncovered, at 400 degrees F (375' Convec.) for 20 minutes.
Meanwhile, in a saucepan, combine the first five syrup ingredients; bring to a boil. Boil for 7 minutes. Remove from the heat; stir in vanilla. Dust pancake with confectioners' sugar; serve immediately with the syrup.


(This is a gluten free version with less sugar and vanilla, gf flour blend is here )
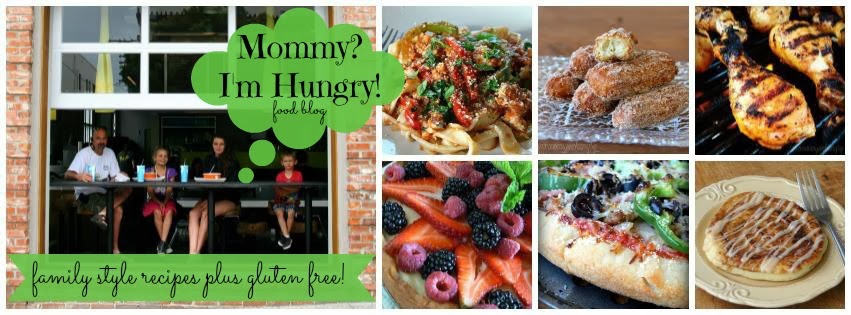
~Be sure to follow my recipe blog so you can get all the latest goodies!~
enjoy,
Rachelle